Sunday 25 March 2012

Caravan Rebuild - Part 6

Woke up to a promising morning, looked like it was going to be a nice day and warm!  Not a day to waste, so outside by 8am and started to lift the caravan cover.  


I started to remove the back quarter awning rail, unfortunately a couple of the screw heads were well worn and the phillips screwdriver was not shifting them!  Only one thing for it, would have to put my new tool to the test.....


Silverline Multi-function Tool about £18 from good old Ebay!
Wow, fantastic - worked a treat, nice and small so easily got into the small areas and I was easily able to grind with a grinding wheel attachment a groove into the top of the screw head and hey presto could unscrew it and remove it.


So awning rail removed


What I found on this side of the van is the awning rail had been sealed correctly, there was bedding mastic between the underside of the caravan roof and coming out over the side wall which you can see in the pic above.  On top of this had been a 32 mm strip of mastic and then pushed into the the middle of the awning rail itself was a 19mm strip.
Although the sealing was  good at back quarter and front quarter and there had been no water ingress due to how good, the middle shows a previous repair that could have been done a little better.  Somebody had stuck a small section of awning rail here with silicon sealant which is where I found trappings of water! Such a shame because if it had been done better then the damage inside could have been prevented, it doesn't help that the flue you see hasn't been bedded in at all, that's right, at all!!
Most of the screws I removed looked ok, there were just a couple that were really rusted and they came from the middle section near the air vent where the flakes of rot and fluttered to floor inside.


Cleaning the mastic off the van isn't easy work, it takes quite a bit of time using the turps, but I'd made a good start before Lee turned up to start on the inside.  Time to tackle the shower room and get the ceiling, back wall and side wall cut and up.  As I went off to purchase some more plywood Lee cut the back section and and the ceiling section.  I had a bit of a mare because I had an 8ft x 4ft piece cut down to 5ft and tried to get it into the VW Saloon we bought for towing  and I was struggling to make it go in when it split in half!! Cracking.  Of course important to remember it would have easily fit into our Focus hatchback but that was traded in to get the VW!!


Lee thought I was joking at first, until I showed him the evidence, "oh well, it will have to go in in two pieces, will probably be easier".  Onward and upward - we started to glue and staple the panels.


There is a baton at the bottom holding the bottom of the panel in place until the adhesive sets, this panel will be lined with vinyl paper and painted.

Ceiling section was cut, glued, stapled and clamped in place to ensure good adhesion.

Attack of the clamps!
Back and ceiling done, now for side wall - mmmm, template time!  This proved very difficult, at the front of the van it had worked well because I could staple the paper in place and hold it in place but couldn't do that at the back with the foam....managed to make one..but it wasn't ideal.  lee cut out the section and started to fit it, it needed about ten adjustments here and there...very frustrating...but finally


Now for the bottom section.  Lee decided to make a ply template for the ply this time as there were so many cuts and angles a paper template just wouldn't do.  It wasn't easy but he did it just by using the tape measure....great job!


looking good
Mark (hubby) had to have a ride over to Teesside Caravans to get us some more adhesive as we were out of Tigerseal, we would have to use Sikaflex 512 instead.  Once Mark got back we were able to start glueing, stapling and bracing!


Look at that join - perfick

Looks very dark, but once lined with vinyl paper will look a lot better.  To do this, the ply will be coated with PVA glue first to seal it and the shower room will only be used as toilet and wash basin.

These are the wooden braces put in place to ensure a good fix.
The day was getting on - we started to look at the front right quarter upper cupboard and cleaned that out a bit more - but we were both tired and getting a little short tempered so we decided to call it a night at 7pm, so that was 11 hours for me and 7 hours for Lee - wow Lee's bill is adding up!  We try to offset the bill a little with food at the end of the day and what better way on such a gorgeous day but a BBQ (there was more food than this!)


This is our little folding BBQ that we take camping - great surface area for grilling - one of the best things I have bought my hubby!  He loves it!
So another day done - what is left?  Well there is the front top right cupboard new batons, ceiling support, insulation and wall/ceiling covering to do, there is above the door and into the fireplace cupboard, new batons and some repair work to the aluminium, air vent support, insulation and ceiling/wall covering to do and then the delamination kit will be put to good use on the floor before resealing the outside of the van and laying the vinyl tiles and painting the inside of the van........so a few more blog entries yet.


Now I will spend the night thinking about how we're going to tackle that aluminium in the fireplace cupboard...


Can you spot the rivet hole?  Might have to put some aluminium support in here....
Until the next blog, goodnight.


Well it's now the morning after and the sun has got his hat on again, so have to make the most of it and get our there and carry on removing and cleaning the awning rails down.


This took some doing, I have cleaned down with turps just need to go over it with methylated spirit now.


What a difference without the cover on....

You can the whole awning rail has been removed

For some reason the front window section has been sprayed white - custom caravan!!  But you can see where I have cleaned all the mastic off.

The back of the caravan cleaned

When it's under the cover it looks a lot bigger, looks tiny now!

It looks a little patchy in parts, but when cleaned with methylated and resealed it will be getting a good clean with Fenwicks caravan cleaner

Vent at the top looks a little wonky because it isn't braced in the wood inside yet

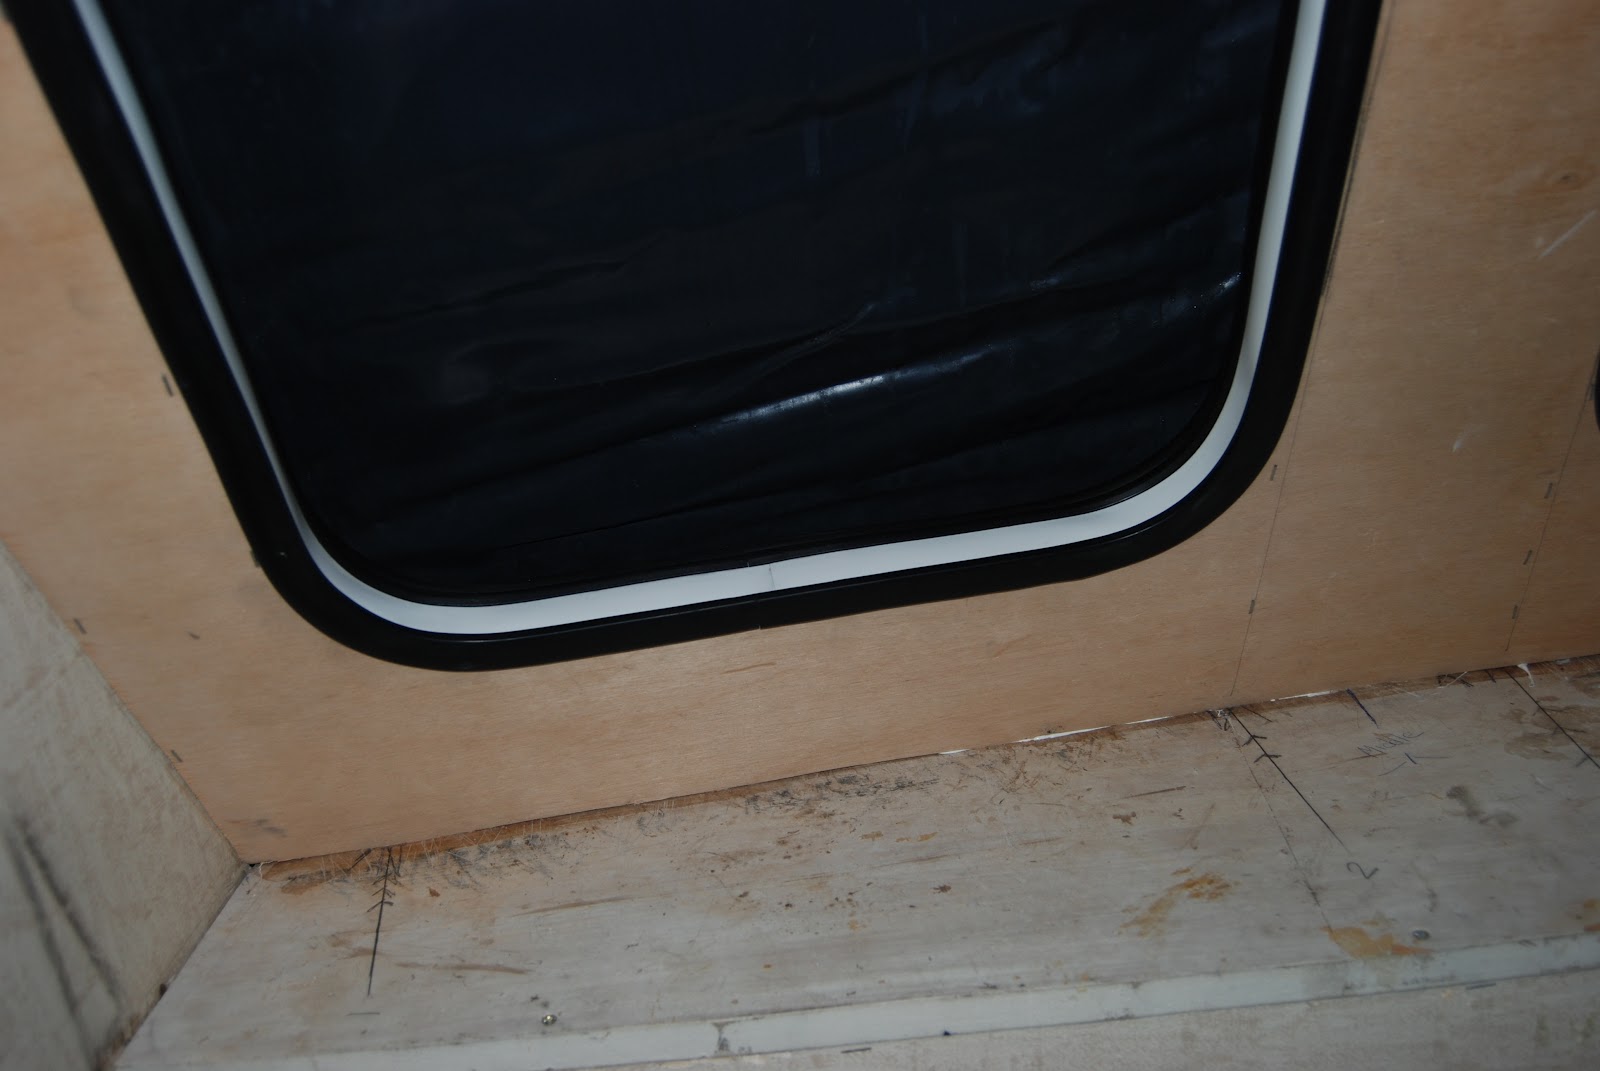
Windows resealed a couple of weeks ago but added the bumper strip today...looking ok and don't mind the custom colouring! lol


Wednesday 21 March 2012

Caravan Rebuild - Part 5 1/2

Mothers day - and I was up watching the F1 Australian Grand Prix before heading out to the caravan.


I started by collecting all the tools up and storing them in my new tool cabinet (otherwise known as the drinks cabinet).


Then I started bagging all the rubbish and sweeping the floor.  I stacked all the ply and timber toward the front of the van and moved two seat frames outside and covered them in tarpaulin to protect them.  This helped make some valuable space ready for my next task after the tidy up....


The floor looks bad here I know, but it's completely dry, there is another patch toward the back quarter.  I think in the past there has been a water leak from the skylight above, both at the front here and at the back. as there has been a ceiling repair with new joists fitted.  There is a fair bit of delamination here, but I have the kit to do it and will give it a nice sand down and prime with PVA before laying the sticky back vinyl tiles that cost me £16 from B&M Stores.  That will probably be in Part 20 if you're still reading by then! lol

Wow, feel so much better now it's clean!  Time to dirty it again...


I had been worried for a few weeks about the damp in the cupboards above the fire, in particular where the heater vent went up through the roof....


When I pulled away the ceiling and the wall panels the wood...what wood.....black dust fell!  It had rotted away and all that was left was the screws you can see.
Well at least it wasn't damp, it was dry rot.  How far did it spread?  I could see to the right of the vent and that there were new timbers there, from a previous damp repair, probably when the ceiling joists were replaced (you can see one next to the foam insulation above), they had obviously seen this part but just covered it up!  The ply ceiling and wall took no time at all to remove, so I started working my way to the left to above the door.  I marked out a straight line in pencil on the ceiling and cut into it with the stanley knife to get a clean edge and then started to strip back


You can see that there is down strut missing on the right hand side, this was completely rotten and just flaked away, fortunately the damp hasn't travelled right across into the back quarter, good news.  And around the door doesn't look too bad.

If I can get a dry day, I will get out and remove the awning rail so the screws are removed and get rid of the struts that still seem to be there!
Now that I knew the extent of the rot I felt a lot better (don't laugh), and moved on to the front left hand side of the van.  A previous panel replacement had been bothering me from day one and needed to come off!


This section is hidden behind the seat cushions, you can see the down batons that the seat backing screws to, however you can also see that the ply isn't sitting correctly and isn't glued down fully in parts, don't think it was braced correctly.  It also doesn't extend far enough above the window to meet the down cupboard and just looks untidy.

Nothing for it, marked out with pencil and cut carefully with stanley knife and it just peels away!  You will notice above the window one wooden timber, this doesn't extend to the front and yet the side rail screws in there, so may insert a wooden strut like we did at the other side.
At this point I decided to venture out to the DIY store to get some more timber and feeling upbeat decided to even purchase some paint in preparation for when I've lined the ply and am ready to paint!


A neutral colour that should go well with the terracotta fabric I have for the curtains and cushion covers (yet to make).
Now awaiting the safe arrival of my Hobby Multi tool to be able to cut the timbers above the door and be able to make a good join.  Hoping for a good dry weekend when I can get the awning rails off, cleaned down with White Spirit and then Methylated Spirit ready for doing a good job resealing.  (This was another top tip from the Wizards site, if you don't clean down with methylated spirit the mastic won't stick).


I had initially covered the van with black tarpaulin that was very unsightly but did the job at the time for keeping the rain off and letting me get it dried out inside.  It's now been replaced with a nice green caravan cover that I managed to buy off a lovely couple for a decent price.  It had been used once and was in great condition.  Only thing is, it now looks like there is something worth having under there and it's not quite at that stage yet!

Caravan Rebuild - Part 5

Part Five started outside, we put the awning and bumper rail back on.  We applied the roll mastic to the fibreglass front shell and marked the screw holes with matchsticks, we then dropped the metal rails over the top and into position and screwed it into place.


Once this was done, we started to remove the awning rail on side of the caravan without the door.  I found that the awning rail had been fitted using white silicon sealant that was not set!  Very messy indeed.


We then moved inside to the front right hand side upper cupboard and removed the wooden struts.


You can see the remnants of the white silicon sealant that caravan guy had used to secure the struts he had put in that I have ripped out!


This is the daylight streaming through from where we've removed the awning rail outside.
We also glued in place the insulation in the shower room


At this point my brother and I decided that the caravan needed a good clean, we were mislaying our tools amongst the mess.  so I knew what I was going to do on Mothers Day the next day!

Caravan Rebuild - Part 4 1/2

Now that the front ply was set and in place it was down to me to refit the window seals.  I used the mastic on a roll and applied the mastic to the window frame and then eased the seal over it.  I have to say before I did this I did check that the seals fit!


Even though I had checked all three windows when I got to the window on the right hand side I did find I needed cut off some of the seal to get it to fit.


I stapled the window seal in place not stapling in the corners.
Once the seals were in place it was time to put the white window trim in place.  This helps push the seal tight against the window opening.


Once all of the window seals were in, I put the windows back up outside.  I don't have any pics of this because I did it at night!  I used the mastic from the role to help secure the window hanging rails to the front of van and then screwed into place and managed on my own.  Top tip from The Wizards site was to dip the stainless steel screws in turps before screwing into the mastic!  This helps to penetrate and pull and wind the mastic round the screw itself!  

Caravan Rebuild - Part 4

Once all of the down struts had set in place after being well and truly clamped down, I measured and cut the across struts and glued and stapled them in place.  This was done over the course of an evening and a morning.  I only had enough clamps to do half the job one evening and then carry on the following morning to do the second half.  This is what it was starting to look like


Here you can see the plastic corner brackets in place, I bought these from a company called DLS Plastics and managed to get 15 for £5.60 delivered.
The plastic corner brackets weren't put in place until all of the glue had set firm.  Now we had to put all the insulation back into position.


It's really starting to take shape now!  Now for the part that we were dreading, cutting out the ply for the front window section in one piece and getting it to fit.  I had carefully made a paper template and my brother was happy to cut the ply as he said if it was wrong it would be my fault because I had made the template!  Brotherly love eh!


Template laid out on ply and carefully drawn round, Lee cut it out carefully with the jigsaw.  We then positioned this in place and I went outside to draw around the window holes so that they could be cut out, again this was my responsibility because if it was wrong it was my fault!  Hey presto...


We positioned the ply in place to check that it fit and the window holes lined up properly before adding any glue.  It was a tight fit, but a good fit, the sister had done good!  We decided to put the Tigerseal onto the struts rather than the ply as it would be less messy.


We used clamps to hold it down in places as the front is curved we wanted to make sure we made good contact.  We also stapled to the struts.

Like the way the tools are artistically placed?  This was my brother setting the scene!
Clamps in place we had to find something to do whilst the glue was setting.  We decided to move back into the toilet/shower room back quarter.  We glued ply to the back panel as there we some tiny pin prick holes in the aluminium so this would give it support and create a watertight seal with the ply covered in Tigerseal.


Here you can see the wood strip put in place just below the wooden support prop, to screw the grab handle into.

To ensure a good  fix it was supported with timbers.  You can see the replacement wood supports at the bottom that have also been replaced.
We also cut and replaced the upper wood struts


By this point my brother was starting to get despondent and had had enough, I then found this left in the shower room when he left!


Not a good sign!
Even my brother handing in his notice couldn't dampen my spirits, when I looked toward the front of the van I was just too pleased with the outcome to be miserable